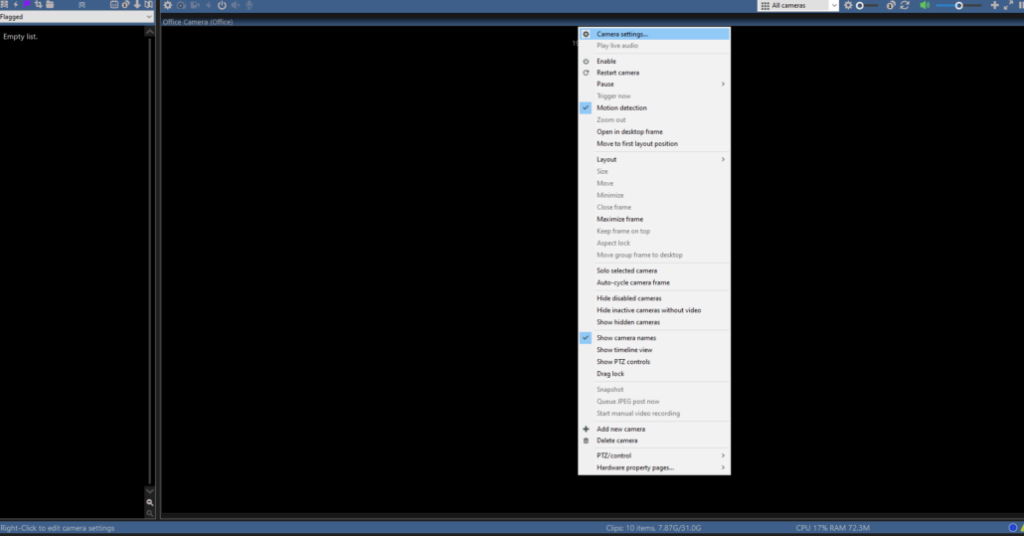
There are 2 ways to add a camera to Blue Iris 5. You can right click on the main menu, or click on the settings menu in the top-left corner of the interface.
To begin, right-click on the main interface or click on the settings menu to access the “New camera” menu.
In the new camera dialog, the default settings should be fine to first get started. Do assign a more meaningful full name and short name, e.g. Front Door for full name and FD for short name, so it is easy to identify cameras in the software.
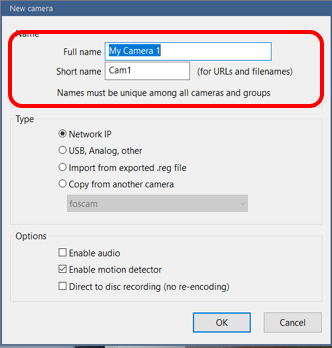
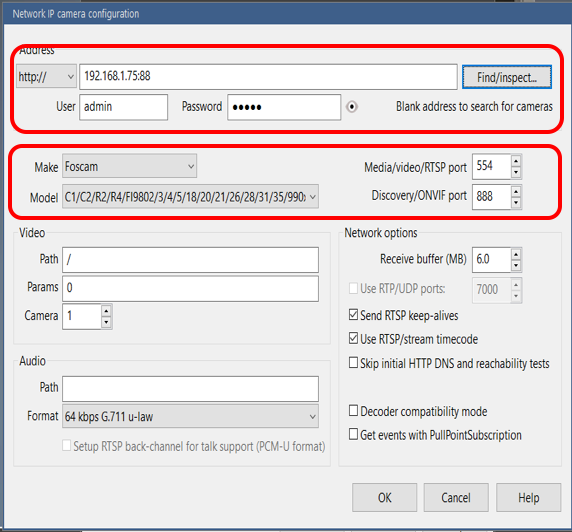
Click OK to bring you to Network IP Camera Configuration dialog (seen below).
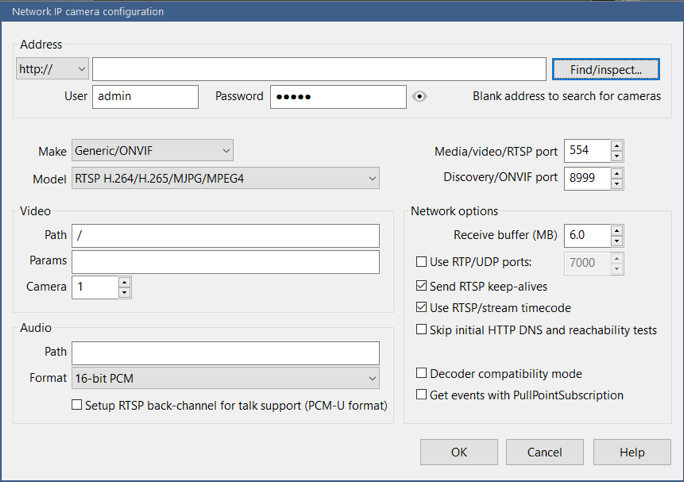
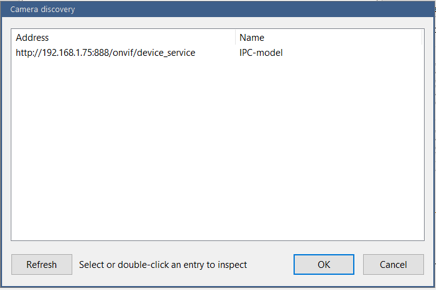
Click the Find/Inspect button. Blue Iris is pretty good at finding most cameras on the network. Select the camera if found and click ok.
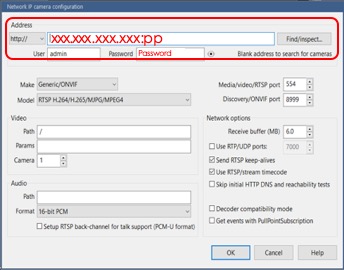
The Network IP camera configuration dialog should now be pre-populated with settings associated with your camera.
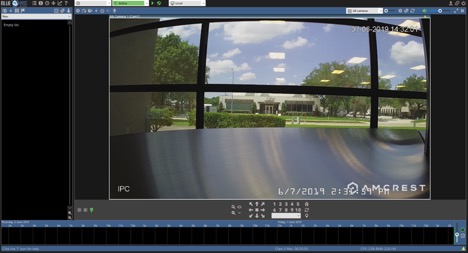
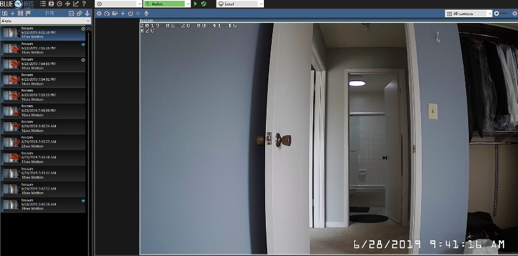
Hit OK and Blue Iris should start displaying the live feed from your camera.
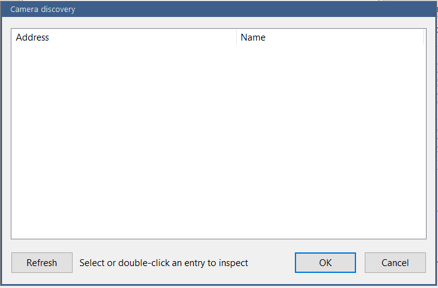
If the Find/Inspect function does not find your camera, no problem!
Simply type in the IP address and Port number discovered when you first connected your camera to your home WiFi network in Part 2.
Hit OK and Blue Iris should start displaying the live feed from your camera.